Nightmare Frontier Loadout Transfer and Swap Guide
How Transfer and Swap loadouts work in Nightmare Frontier 1.0, plus multi-level item upgrades that speed Hideout prep between District runs.
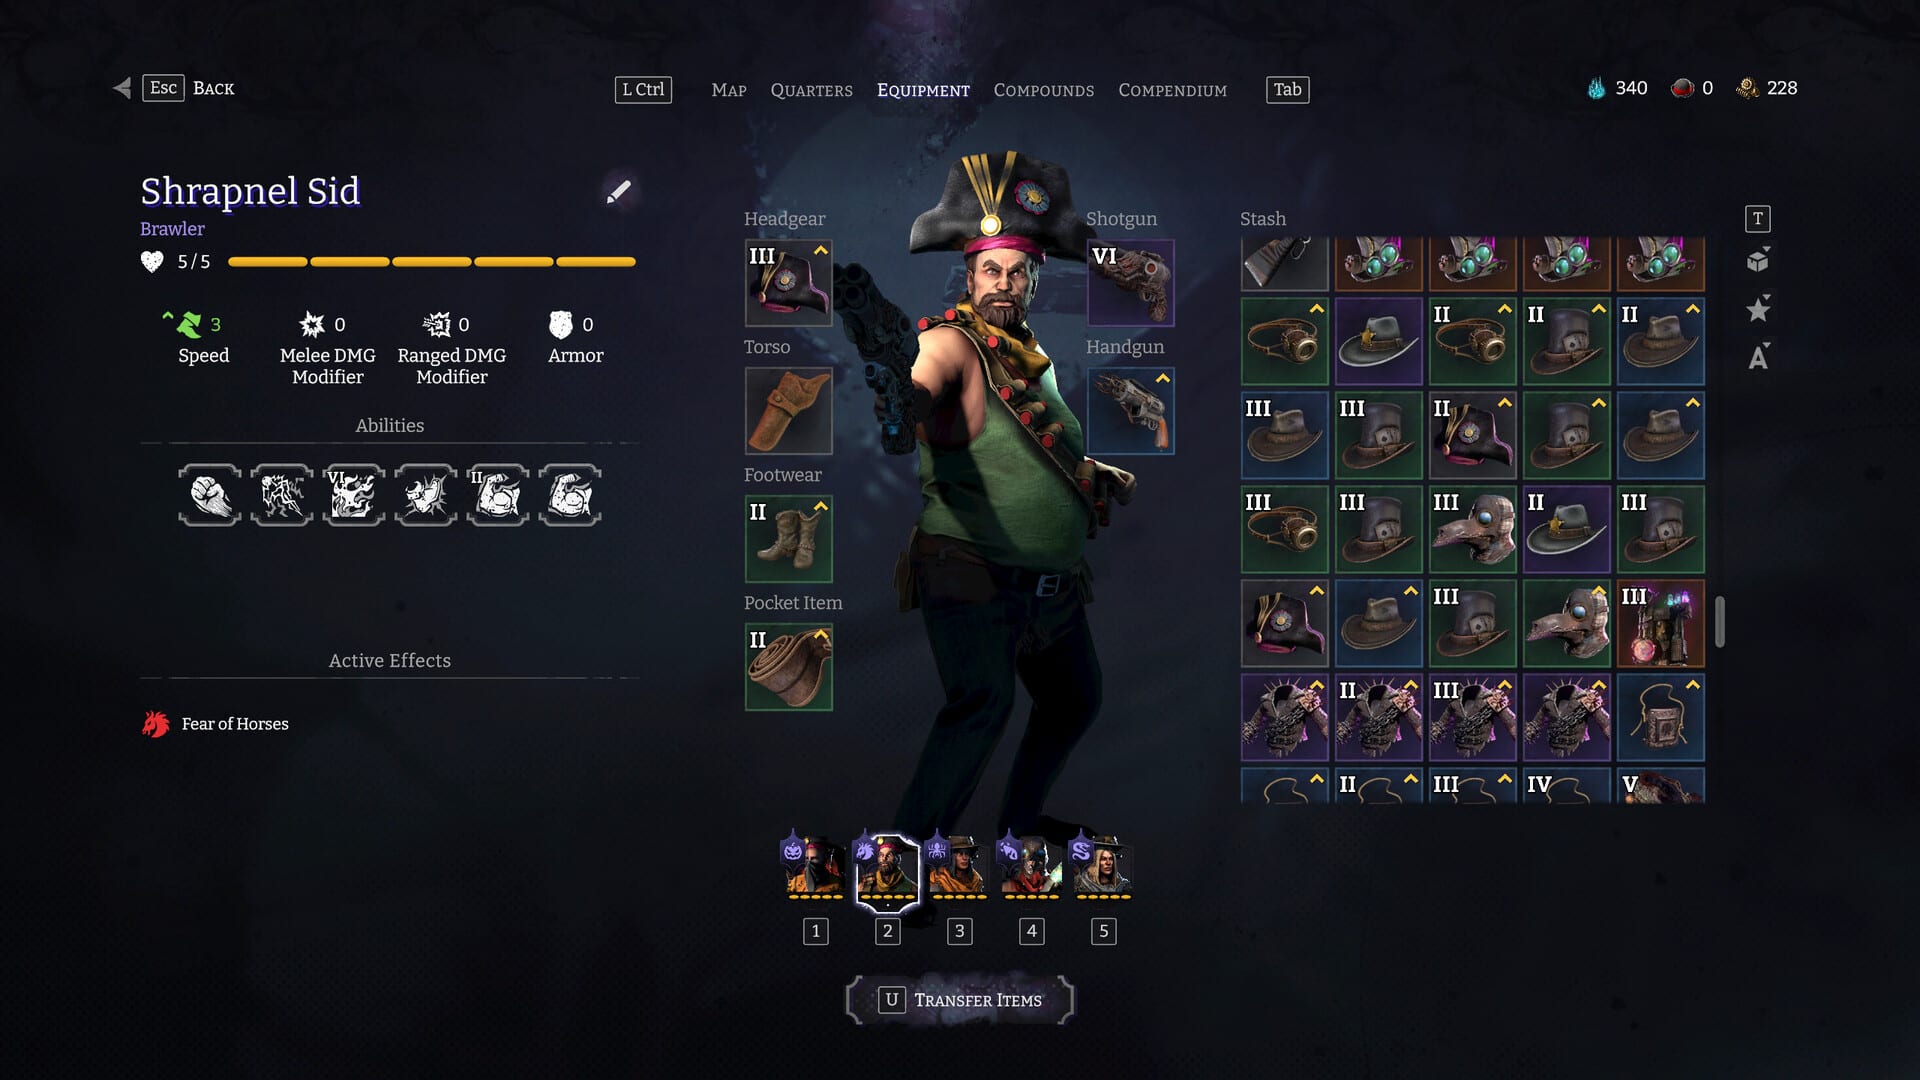
Version 1.0 turned the Hideout from a locker room into a logistics desk. Transfer and Swap loadouts let Scavengers move kits between roster members without rebuilding every slot by hand, while multi-level upgrades mean your best items climb in steps instead of one giant spend. Together they are the quality-of-life spine that makes 1.0’s larger item count feel manageable.
Transfer vs Swap: know the verb
Transfer copies or moves a loadout configuration from one Scavenger to another—ideal when your specialist died mid-campaign and their Ricochet-ready handgun should live on the replacement you just rescued.
Swap exchanges two Scavengers’ kits in one action—ideal when tonight’s raid needs your controller in front and your deleter on backup without thirty minutes of drag-and-drop.
Both verbs assume you already understand what each slot does. If you are still learning item families, start at Items overview before you automate mistakes across the roster.
Multi-level upgrades in 1.0
Early Access often felt like binary unlocks: you had the gun or you did not. 1.0’s multi-level upgrades let the same item grow through several tiers—more Ricochet eligibility, better interactable synergy, cleaner Horror answers—without forcing you to craft a wholly new blueprint every time Nightmare Level rises.
Practical workflow:
- Pick one verb per week (Push denial, Burning setup, Ranged flush).
- Upgrade the item that delivers that verb twice before chasing sidegrades.
- Transfer the finished kit to whichever Scavenger leads tomorrow’s Fear plan.
- Fund the next tier with parts from Compounds instead of gambling on random drops alone.
Multi-level upgrades interact with susceptibility combat introduced in 1.0. A tier-two hazard tool might be the difference between clearing Horror in two turns versus paying +1 Nightmare Pressure for five (Horror Status).
Hideout checklist after every extract
- Bank trophies and Fear parts at the Hideout
- Transfer kits toward the Scavengers you will actually deploy
- Swap backups if class coverage shifted after injuries
- Spend one meaningful Compound step before cosmetic shopping
- Preview tomorrow’s District and Fear pairing in the Raid Planner
Loadout discipline beats hero gear. A modest kit on the right Scavenger extracts more value than a shiny stick on the wrong body.
Watch Transfer, Swap, and upgrades
Linking loadouts to 1.0 systems
Transfer/Swap shine brightest when the City asks new questions. Docks Overboard routes want Push-aware kits (Docks & Overboard). Horror taxes slow clears unless your upgraded tools exploit Burning, Plague, Push, or Ranged susceptibilities. Ricochet lines still matter—see Combat & Ricochet—but 1.0 expects you to rotate kits, not worship one static build.
Read the full launch context in Version 1.0 release notes. If you migrated from Early Access, treat Transfer and Swap as mandatory relearning alongside the save wipe—not optional UI trivia.
Nightmare Frontier always rewarded preparation. Transfer and Swap simply stop preparation from feeling like punishment.
Frequently Asked Questions
Quick answers drawn from how Nightmare Frontier actually plays.
What is the difference between Transfer and Swap?
Transfer moves or copies a loadout to another Scavenger. Swap exchanges two Scavengers' kits in one action.
What are multi-level upgrades?
1.0 lets many items upgrade through several tiers on one blueprint path instead of a single binary unlock.
When should I use Transfer?
When a specialist dies or rotates out and their tuned kit should continue on a replacement Scavenger.
Do loadout tools replace Compound crafting?
No. Transfer and Swap speed roster prep; Compounds still fund the upgrades and unlock trees that make kits worth moving.